Introduction:
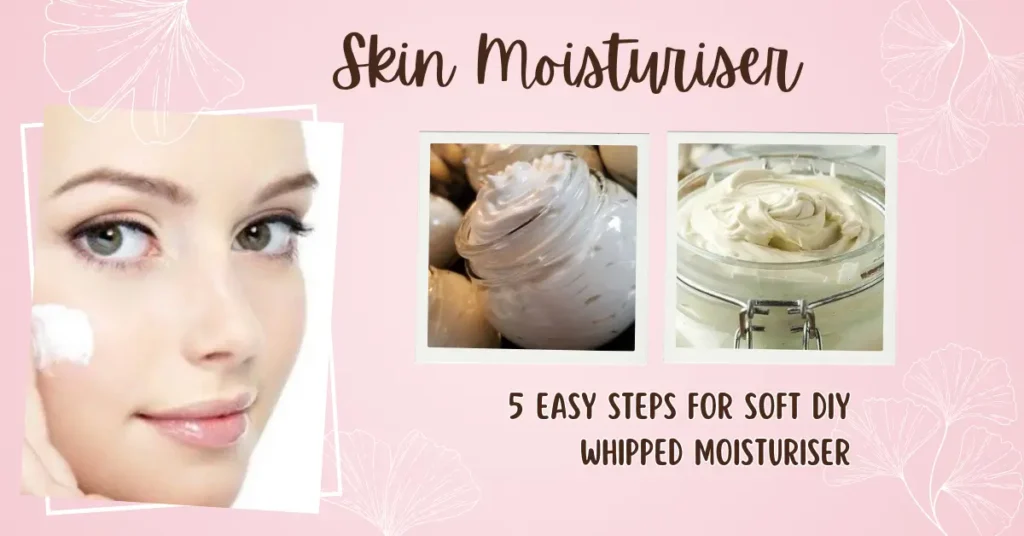
Creating your DIY Whipped Moisturiser at home can be a fun and rewarding experience. Not only can you customize the ingredients to suit your skin’s needs, but you also know exactly what goes into your product. This guide will take five easy steps to make your soft DIY whipped moisturiser, perfect for nourishing your skin.

Sanctuary Spa Whipped Soufflé Body Cream, No Mineral Oil, Cruelty Free and Vegan Body Moisturiser for Dry Skin, 300 ml
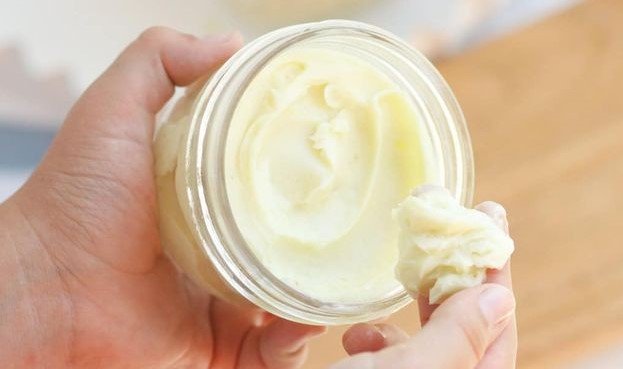
Table of Contents
Step 1: Gather Your Ingredients
To create a simple and effective whipped moisturiser, you’ll need the following ingredients:
- Carrier Oils:
 Choose oils that suit your skin type. Coconut oil is great for dry skin, while jojoba oil works well for oily skin.
 - Butters:
 Use shea butter or cocoa butter for a creamy texture and added moisture.
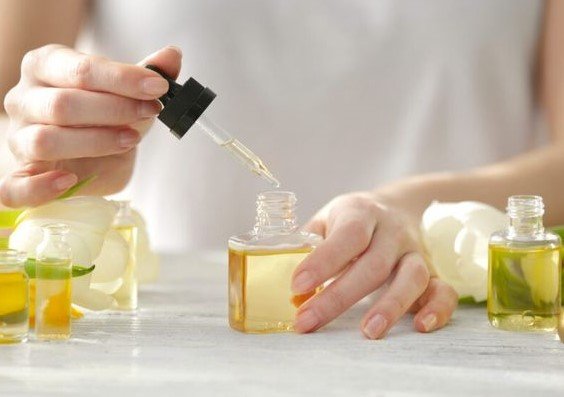
 - Essential Oils (Optional):
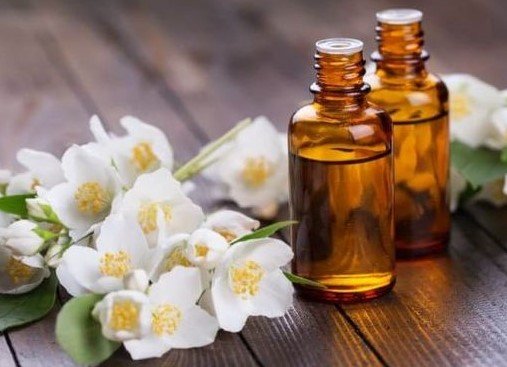 For fragrance and additional benefits, consider adding a few drops of essential oils like lavender or tea tree oil.
 - Vitamin E Oil (Optional):
 This acts as a natural preservative and helps nourish the skin.
Step 2: Melt the Base Ingredients
In a double boiler, gently melt together your chosen carrier oils and kinds of butter. Here’s how to do it:
- Fill a pot with water and place it on the stove over low heat.
- In a heat-safe bowl, combine equal parts of your carrier oil and butter.
- Place the bowl over the pot, ensuring it doesn’t touch the water.
- Stir occasionally until the mixture is fully melted and combined.
Step 3: Cool the Mixture
Once the oils and butter are melted, remove the bowl from the heat. Allow the mixture to cool slightly at room temperature for about 10-15 minutes. This will help it reach a more manageable consistency for whipping.
Step 4: Whip It Up!
When the mixture has cooled but is still in liquid form, it’s time to whip it! Here’s how:
- Use a hand mixer or stand mixer at medium speed.
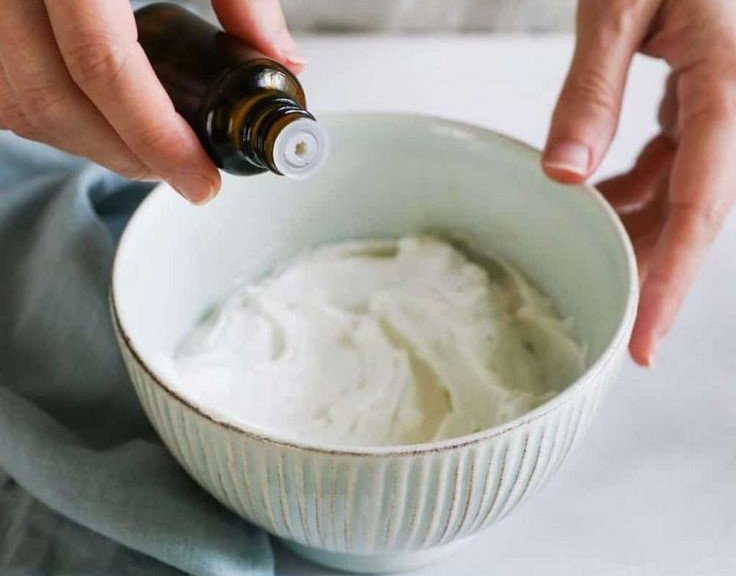
- Whip the mixture for about five minutes until it becomes fluffy and light.
- If desired, add a few drops of essential oils and Vitamin E oil during the whipping process for added benefits.
Step 5: Store Your Whipped Moisturiser
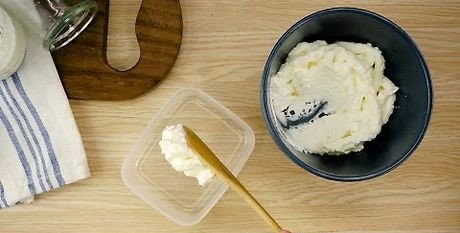
Once your whipped moisturiser is ready, transfer it to a clean, airtight jar or container. Store it in a cool, dry place away from direct sunlight. Your DIY whipped moisturiser should last for several weeks, especially if you’ve added Vitamin E oil.
Conclusion:
Making your whipped moisturiser is not only a rewarding experience but also allows you to customize the ingredients to suit your skin type. With just a few simple steps, you can create a product that hydrates, nourishes and leaves your skin feeling incredibly soft. Whether you’re looking for a natural skincare option or simply want to indulge in a little self-care, this DIY whipped moisturiser is the perfect addition to your skincare routine. Enjoy the satisfaction of knowing exactly what goes into your skincare products.
FAQs:
1. What is a whipped moisturiser?
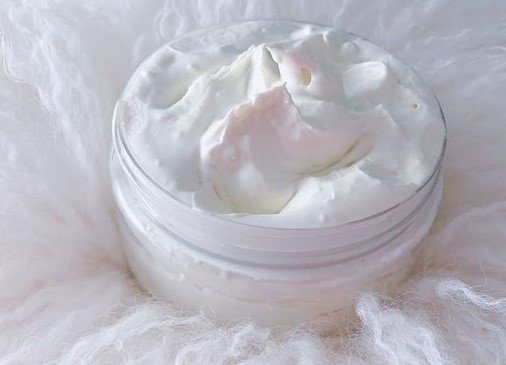
A whipped moisturiser is a lightweight, fluffy skincare product made by whipping together oils and butters. It hydrates and nourishes the skin, leaving it soft and smooth.
2. Can I use any carrier oil in the recipe?
Yes, you can choose carrier oils based on your skin type. For example, coconut oil is great for dry skin, while jojoba oil is better for oily skin.
3. How long does DIY whipped moisturiser last?
It can last several weeks if stored in a clean, airtight container and kept away from direct sunlight. Adding Vitamin E oil helps extend its shelf life.
4. Can I skip essential oils in the recipe?
Yes, essential oils are optional. They add fragrance and additional skin benefits, but the moisturiser works well without them too.
5. Is whipped moisturiser suitable for sensitive skin?
It can be! Choose gentle carrier oils like almond or grapeseed oil and avoid essential oils if you have sensitive skin.