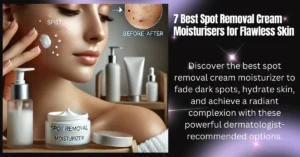
Introduction:
When it comes to skincare, nothing feels better than knowing exactly what you’re putting on your skin. Store-bought products often come with long lists of unpronounceable ingredients, leaving you wondering what you’re applying to your face and body. This is where homemade moisturisers step in, offering an affordable, natural, and customizable alternative. Let’s explore the amazing benefits of homemade moisturisers and how they can transform your skincare routine.
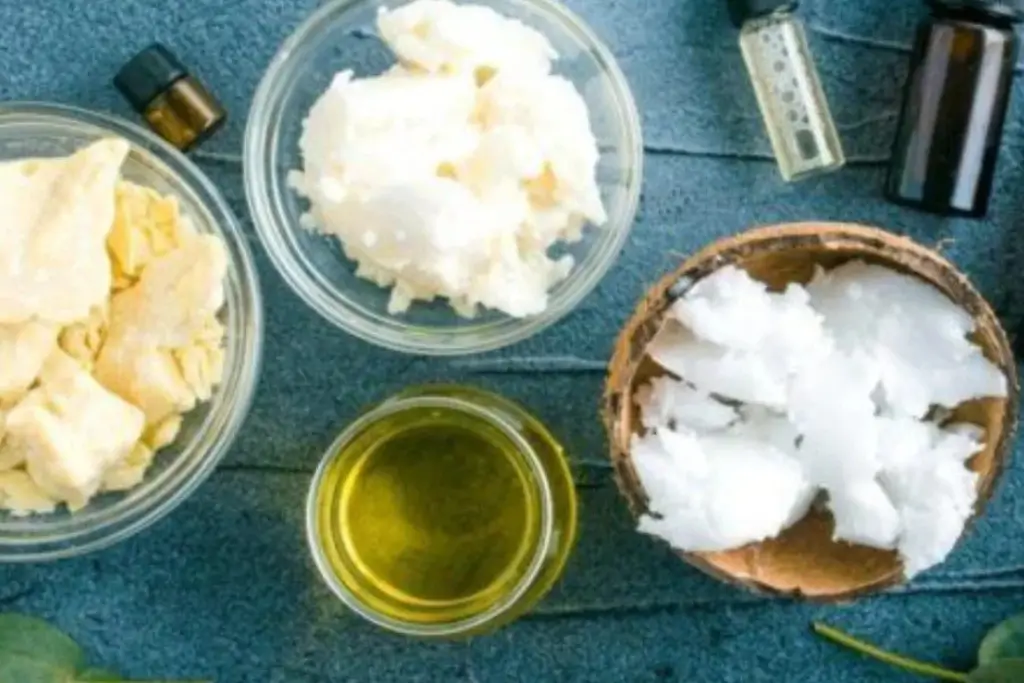
Table of Contents
Why Choose Homemade Moisturisers?
Homemade moisturisers are more than just a DIY trend. They’re a lifestyle choice for anyone considering natural ingredients and sustainable living. Here are some compelling reasons to make the switch:
1. Full Control Over Ingredients
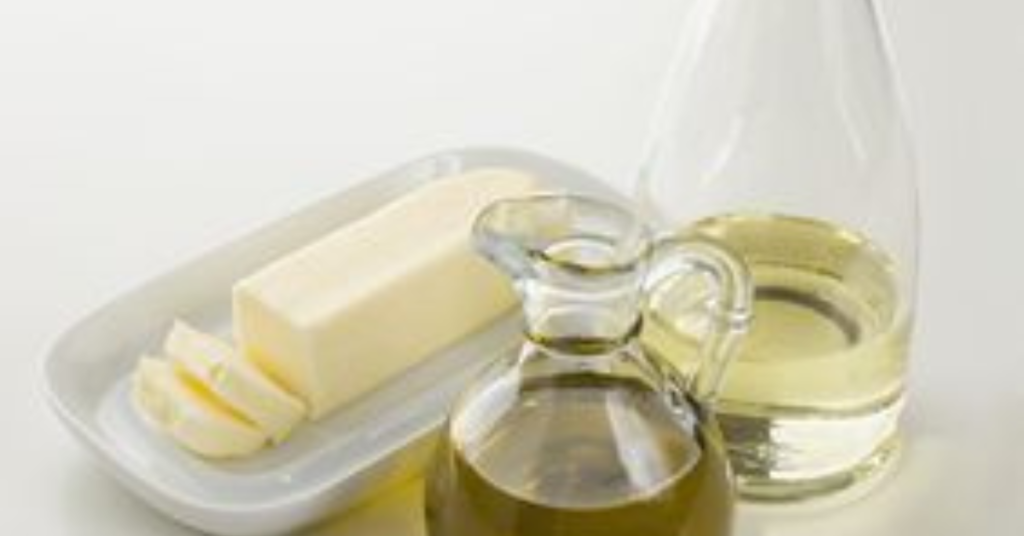
With homemade moisturisers, you’re in charge. You can select natural, organic, and chemical-free ingredients tailored to your skin’s unique needs. Whether you have dry, oily, or sensitive skin, you can experiment with oils, kinds of butter, and essential oils to create a product that works best for you. No more guessing what preservatives or artificial fragrances might be doing to your skin.
2. Cost-Effective and Budget-Friendly
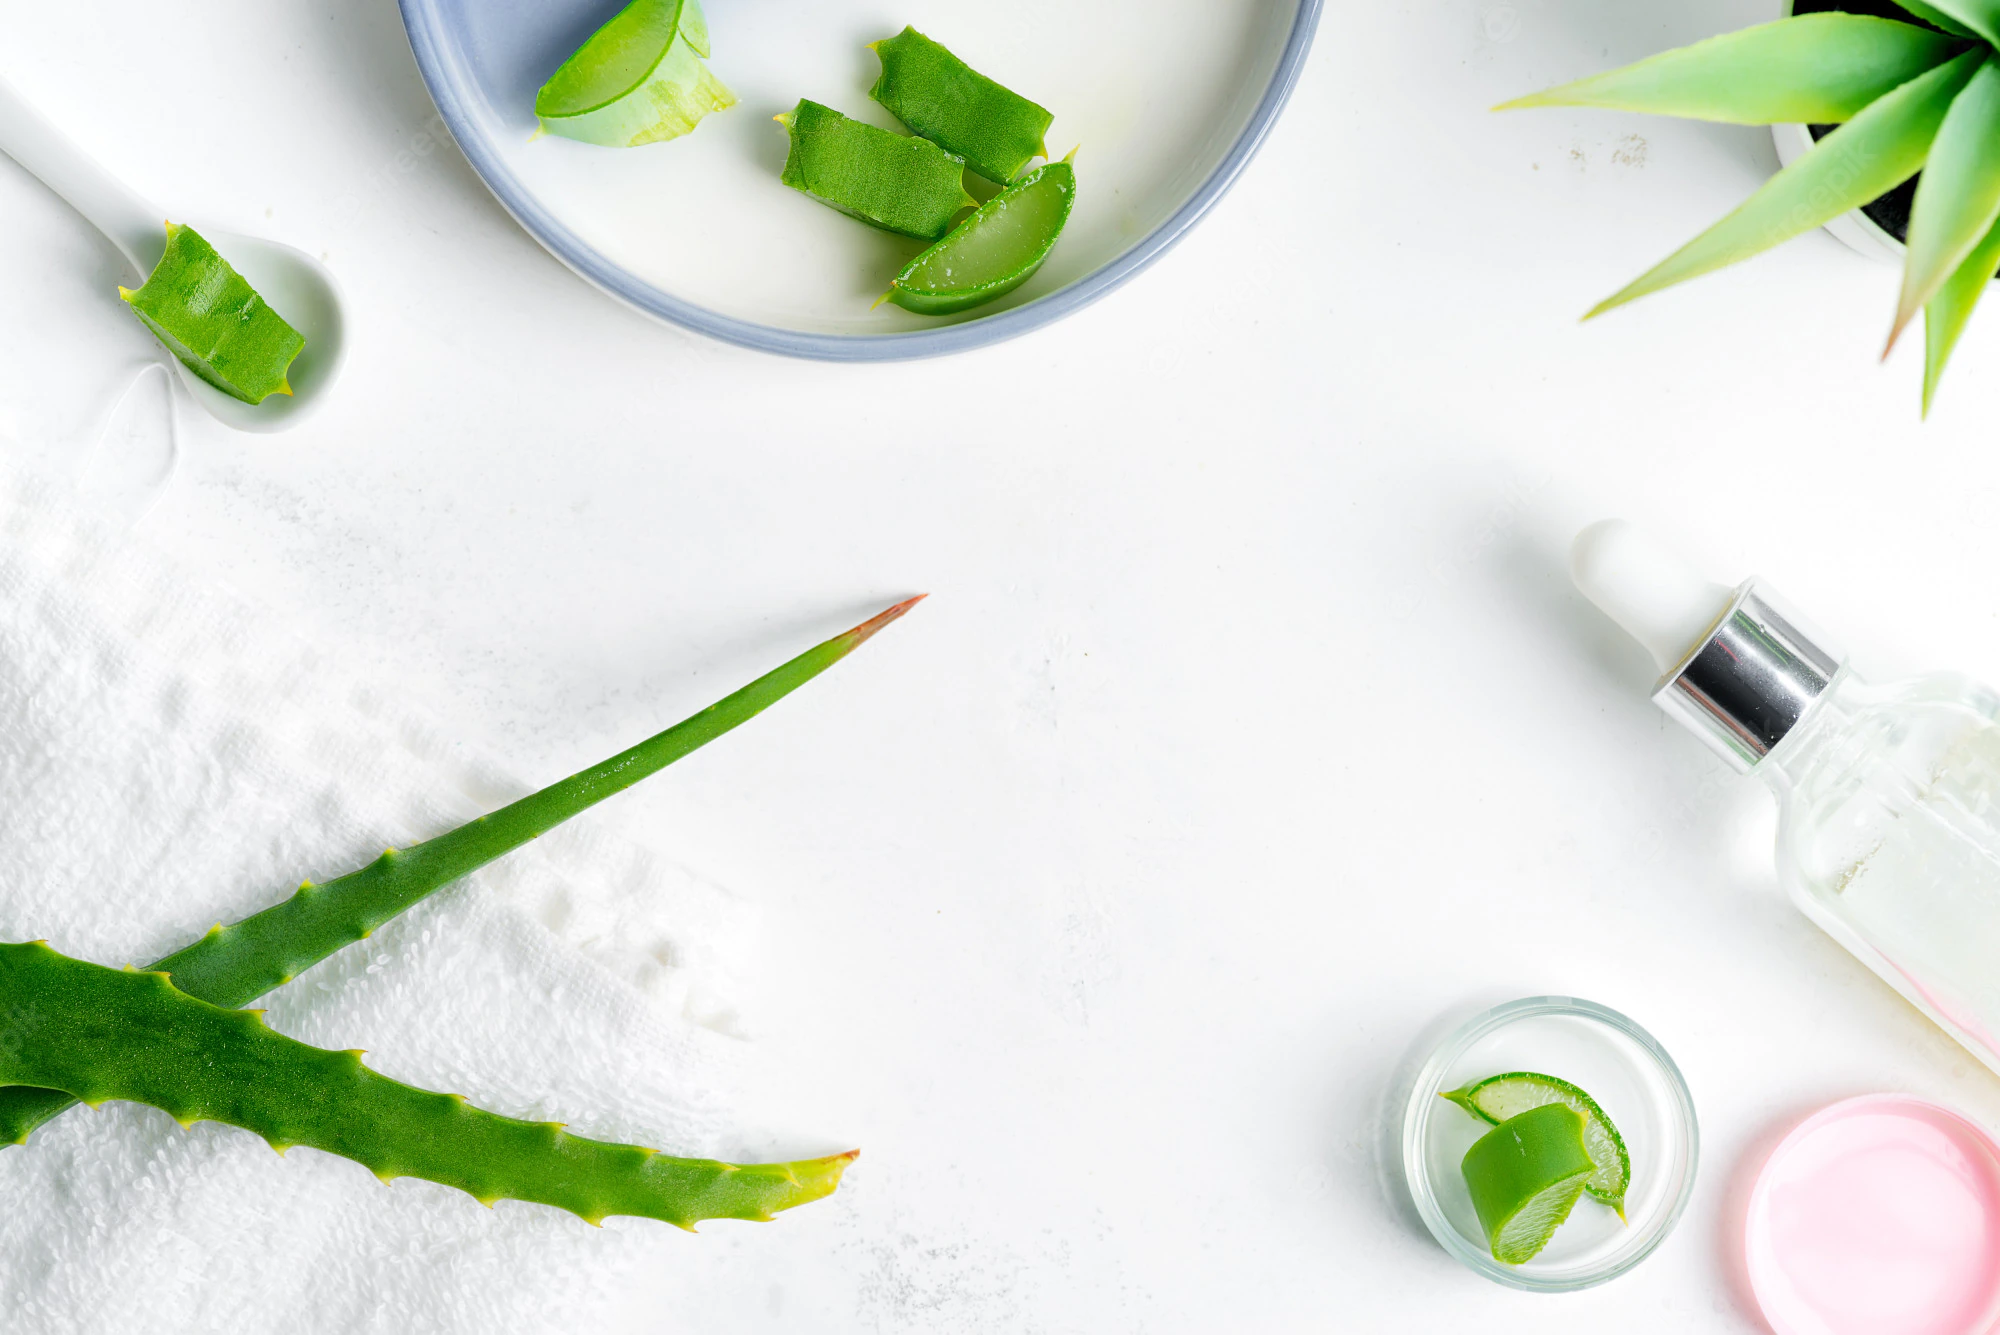
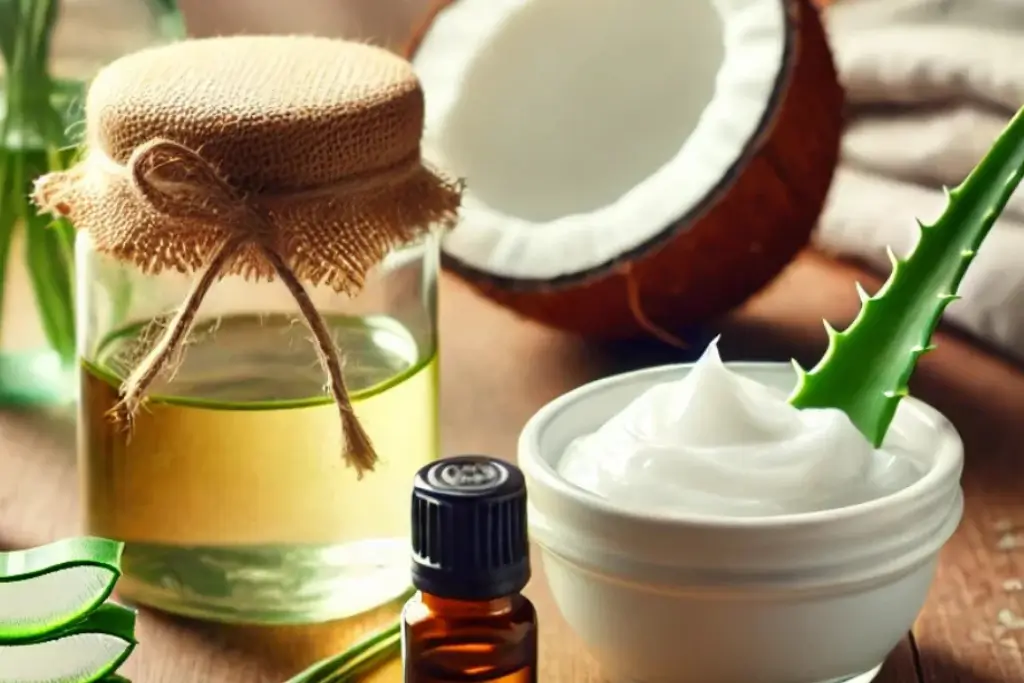
One of the biggest perks of DIY moisturisers is how affordable they are. Instead of spending money on luxury brands, you can invest in high-quality raw ingredients that last for multiple batches. Common staples like coconut oil, shea butter, and aloe vera are easily accessible and cost-effective.
3. Eco-Friendly and Sustainable
Making your own moisturiser helps reduce plastic waste from store-bought packaging. Many homemade recipes use reusable glass jars or containers, making them a sustainable option for eco-conscious consumers. Plus, you can buy ingredients in bulk to further reduce waste.
4. Avoid Harsh Chemicals
Many commercial moisturisers contain parabens, sulfates, and synthetic fragrances, which can irritate sensitive skin or cause allergic reactions. By going homemade, you eliminate the risk of exposure to these harsh chemicals, ensuring your skin only absorbs nourishing and safe ingredients.
5. Customizable for Every Skin Type
Do you have acne-prone skin that needs lightweight hydration? Or perhaps your skin craves deep nourishment during winter? Homemade moisturisers allow you to tailor every recipe to suit your skin type and concerns. Add tea tree oil for breakouts, lavender oil for calming effects, or vitamin E oil for an anti-aging boost.
6. Therapeutic and Fun to Make
The process of creating your own moisturiser can be incredibly therapeutic. Mixing natural ingredients, experimenting with essential oils, and creating custom blends can feel like a relaxing self-care ritual. Plus, it’s a fun activity you can do with friends or family.
7. Natural Glow and Long-Term Benefits
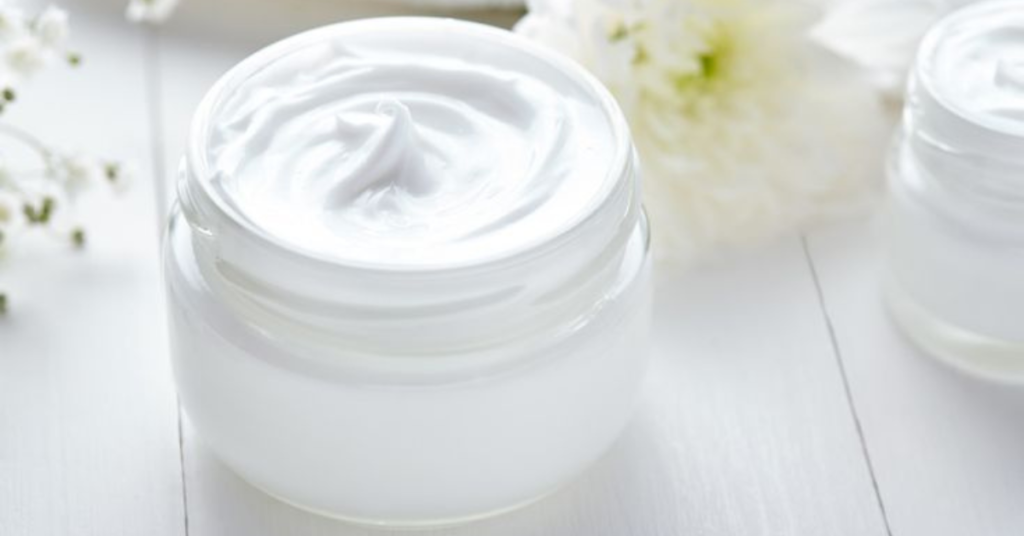
Homemade moisturisers nourish your skin with wholesome, nutrient-rich ingredients, giving you a natural, healthy glow. Over time, they help improve skin texture, reduce dryness, and boost overall hydration levels, leading to long-term benefits.
Essential Ingredients for Homemade Moisturisers
Ready to dive into the world of homemade skincare? Here are some versatile and skin-friendly ingredients to get you started:
- Coconut Oil: A deeply hydrating base for all skin types.
- Shea Butter: Rich in vitamins A and E, perfect for dry or sensitive skin.
- Aloe Vera Gel: Lightweight and soothing for oily or acne-prone skin.
- Jojoba Oil: Balances sebum production and works wonders for combination skin.
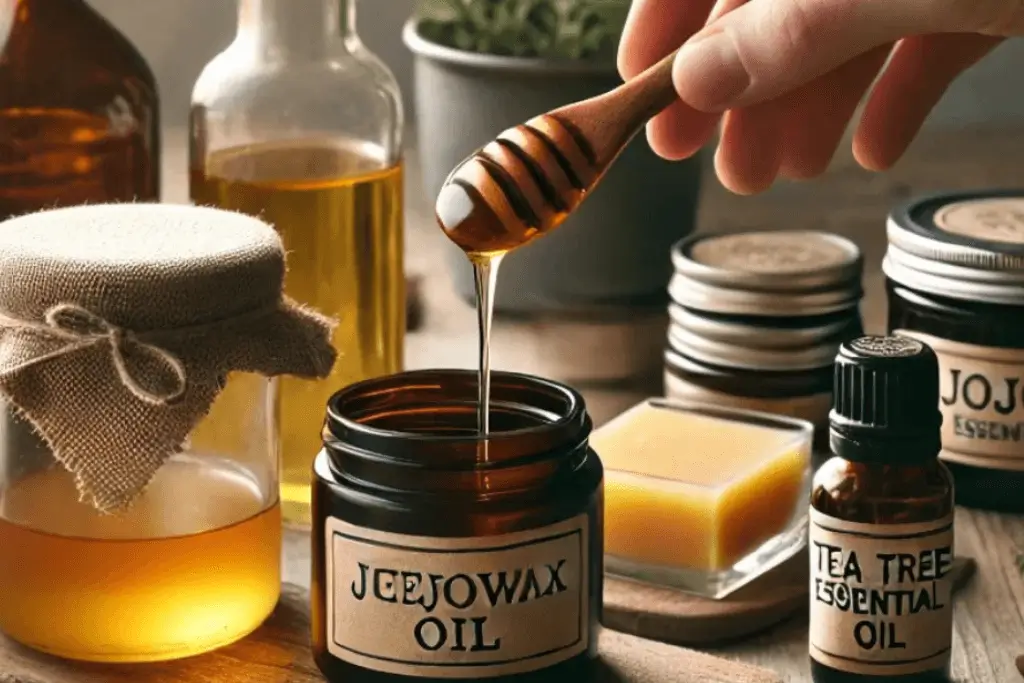
- Beeswax: Adds texture and locks in moisture.
- Essential Oils: Lavender, tea tree, and rosehip oils offer various benefits.
- Vitamin E Oil: A natural preservative with anti-aging properties.
3 Easy DIY Homemade Moisturiser Recipes
Here are some simple recipes to try at home:
1. Coconut and Aloe Vera Moisturiser (For All Skin Types)
- Ingredients:
- 2 tablespoons coconut oil
- 2 tablespoons aloe vera gel
- 3-4 drops of lavender essential oil
- Instructions:
- Melt the coconut oil in a double boiler.
- Mix in the aloe vera gel until smooth.
- Add lavender oil and transfer the mixture to a clean jar. Store in a cool, dry place.
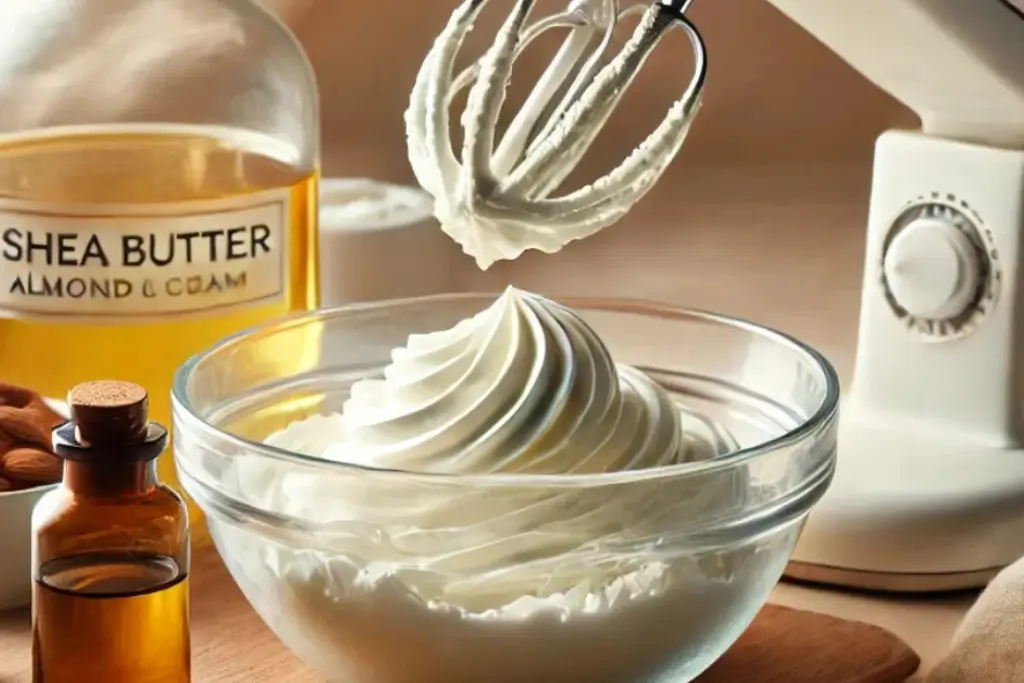
2. Whipped Shea Butter Cream (For Dry Skin)
- Ingredients:
- ½ cup shea butter
- ¼ cup almond oil
- 10 drops of rose essential oil
- Instructions:
- Melt the shea butter in a double boiler.
- Add almond oil and let it cool slightly.
- Whip the mixture using an electric mixer until fluffy.
- Add rose essential oil and store it in a jar.
3. Jojoba and Beeswax Balm (For Combination Skin)
- Ingredients:
- 1 tablespoon beeswax
- 2 tablespoons jojoba oil
- 5 drops tea tree essential oil
- Instructions:
- Melt the beeswax and jojoba oil together.
- Stir in the tea tree oil.
- Pour into a container and let it solidify.
Tips for Storing Homemade Moisturisers
- Always store your moisturisers in clean, airtight containers to prevent contamination.
- Use dark glass jars to protect essential oils from sunlight.
- Keep your moisturisers in a cool, dry place to extend their shelf life.
- Label your jars with the date they were made to track freshness.
Potential Drawbacks of Homemade Moisturisers
While homemade moisturisers are amazing, it’s important to note a few potential drawbacks:
- Shorter Shelf Life: Without preservatives, homemade moisturisers can spoil quickly. Always make small batches to ensure freshness.
- Trial and Error: Finding the perfect recipe for your skin may take some experimentation.
- Allergic Reactions: Even natural ingredients can irritate some. Always do a patch test before applying any new product to your skin.
Conclusion: Embrace the Power of Natural Skincare
Switching to homemade moisturisers is a step towards healthier, more sustainable skincare. Not only do you get to pamper your skin with natural ingredients, but you also enjoy the satisfaction of creating something unique and personalized. So why not give it a try? Your skin (and the planet) will thank you for it!